Our Location
pssst....... lets just keep that a secret for now

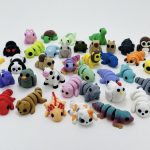
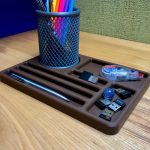
Just Print It
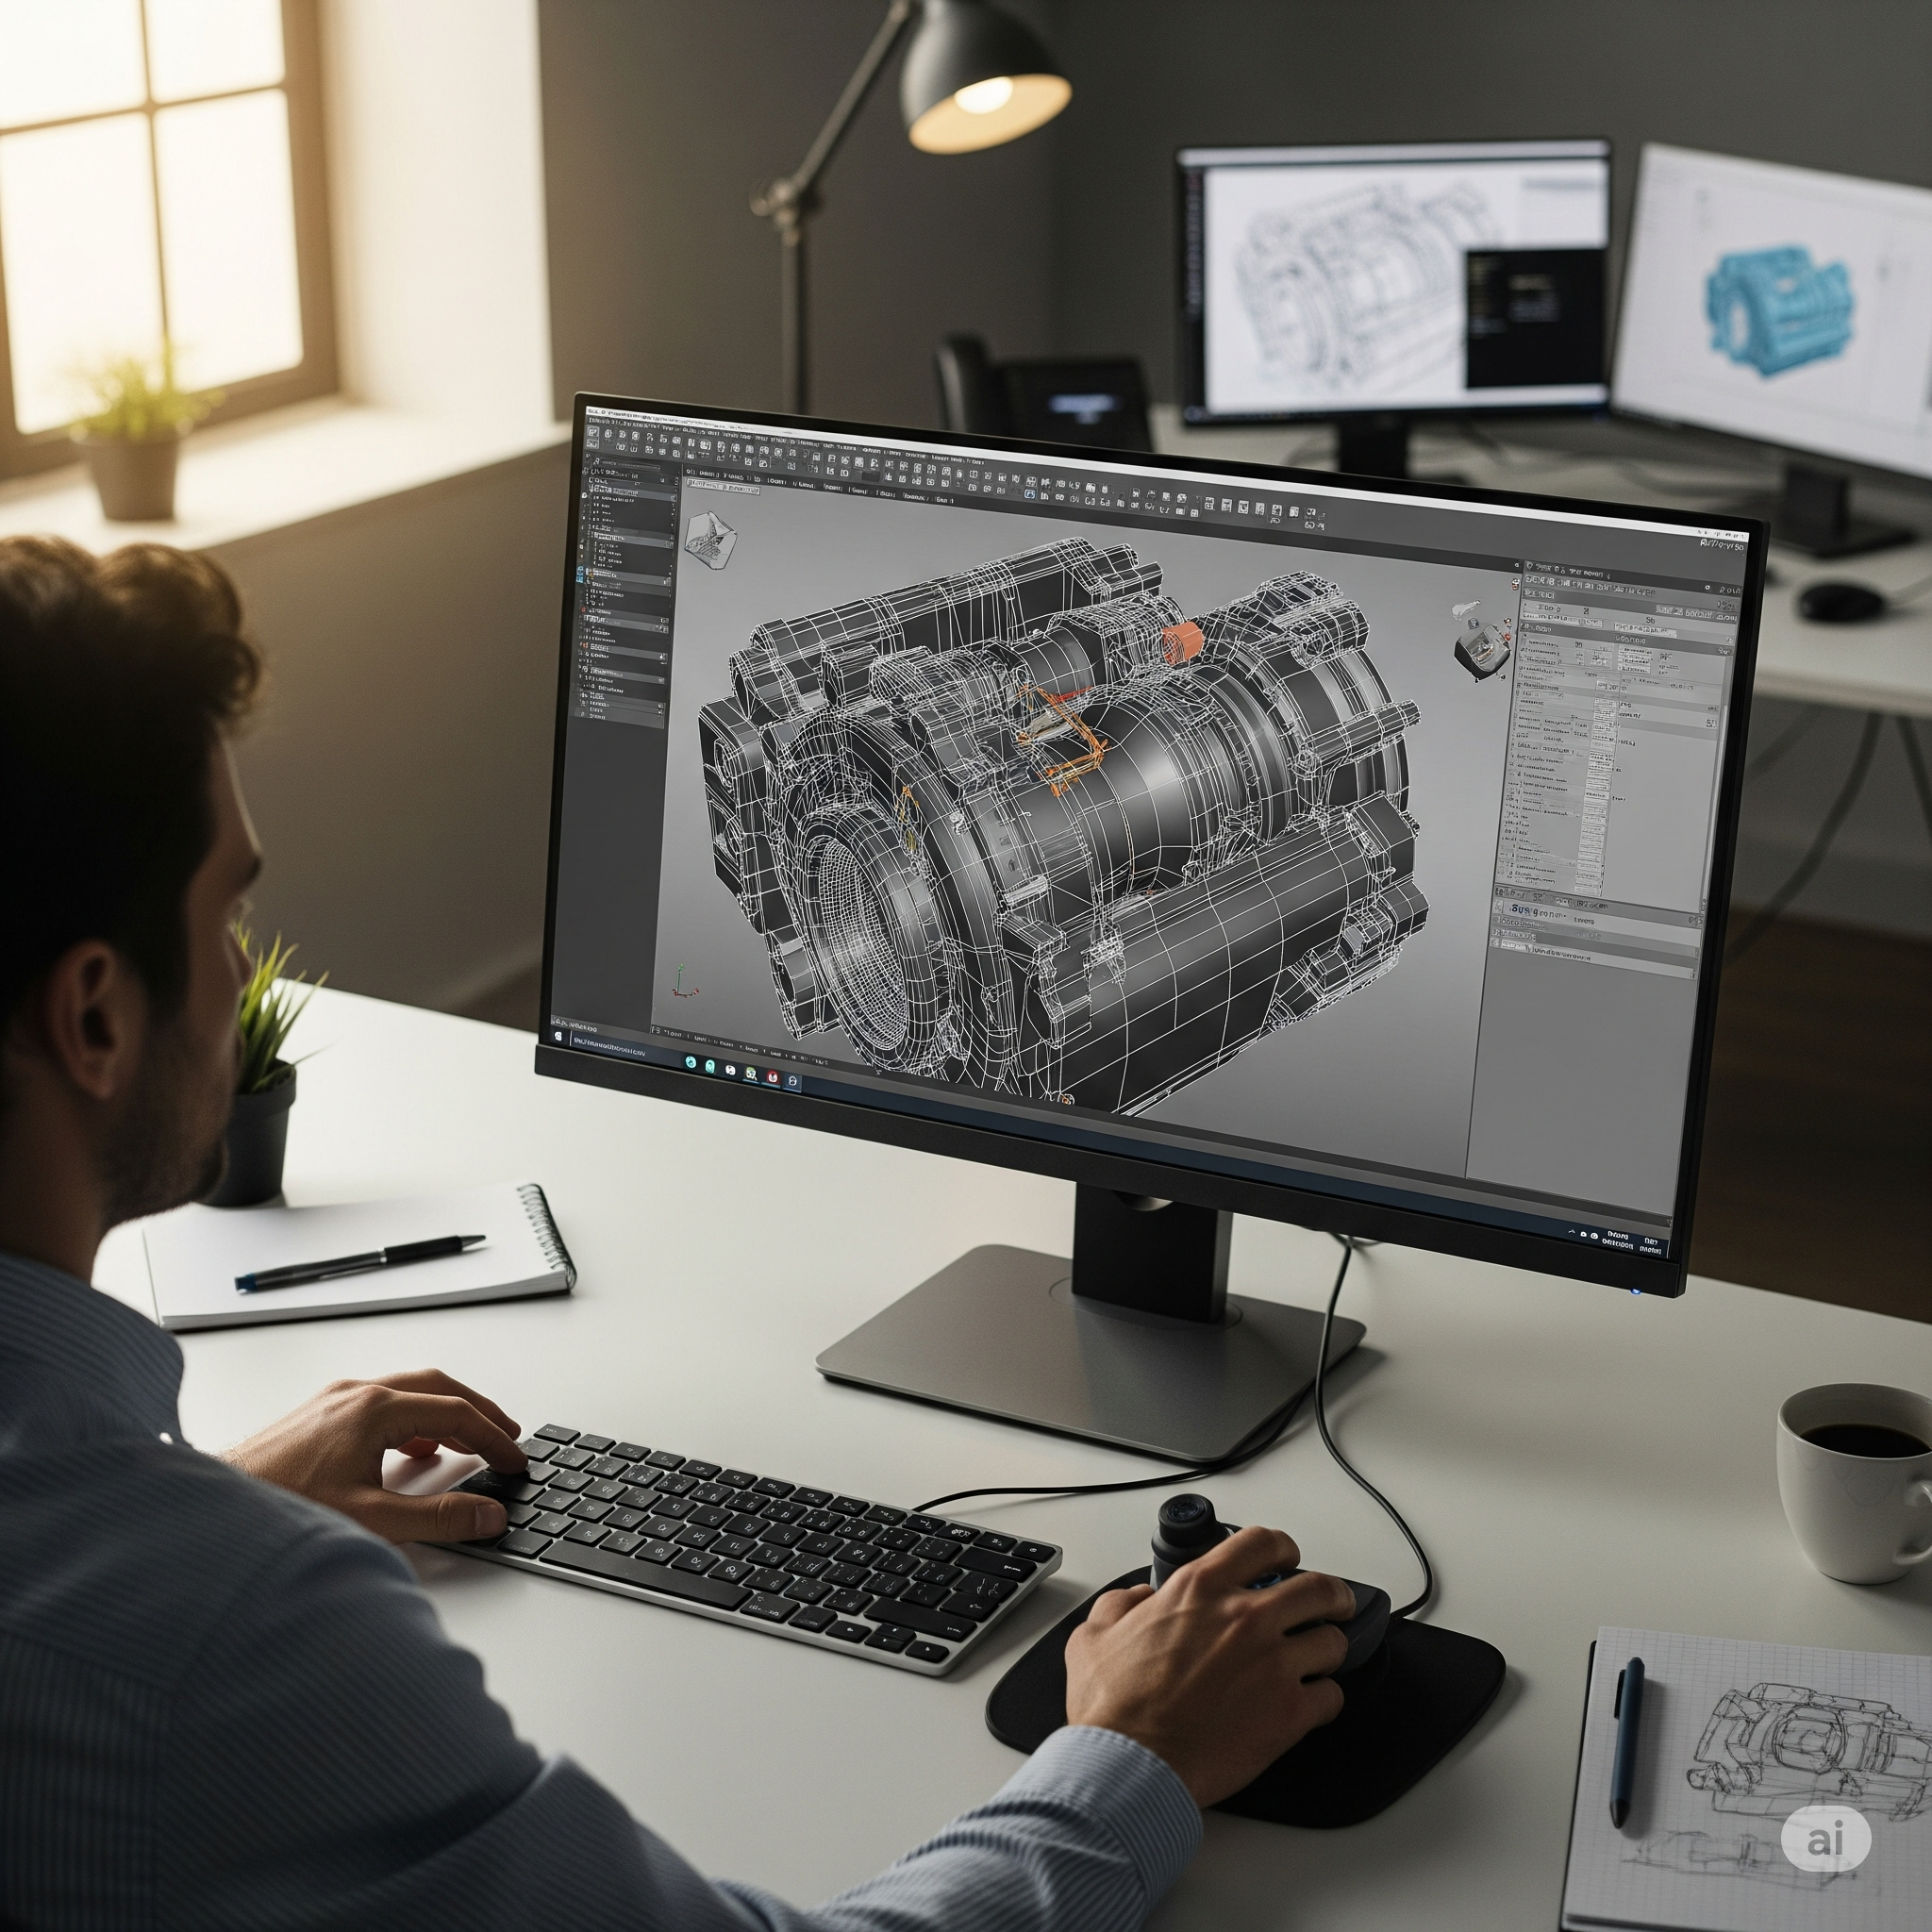
Ever looked at a cool 3D print and wondered, “How did they even make that?” 🤔 The magic behind every great 3D print isn’t just the printer; it’s the design software—or CAD (Computer-Aided Design). This is where your wildest ideas take solid, digital form!
If you’ve been wanting to dive into the world of 3D modeling but feel intimidated, you’ve come to the right place. We’re going to break down the process of creating your very first CAD model, step-by-step, using some free and super-accessible tools.
Picking Your First CAD Tool 🛠️
You don’t need a super expensive program to start. There are amazing, powerful tools that are free for hobbyists and students.
* Tinkercad: The absolute best for total beginners. It’s browser-based, uses simple shape-based modeling, and has a super friendly interface. Think of it as digital LEGOs.
* Fusion 360: A more advanced, but incredibly powerful tool. It’s free for personal use and is an industry standard. It has a steeper learning curve but offers professional-level features. This is the one we’ll be focusing on for our example because it’s a great “next step” after Tinkercad.
* Blender: More for artistic or organic modeling (like characters or sculptures), not typically for precise, mechanical parts.
For this guide, let’s pretend we’re designing a simple key fob. We’ll use Fusion 360’s workflow as a template.
The Design Process: A Simple Key Fob Example 🔑
Let’s build a simple, rectangular key fob with a hole for the ring and some text on it.
* Create a New Sketch: In Fusion 360, you always start with a 2D sketch. Think of this as drawing on a piece of paper. Select a plane (like the XY plane) and draw a rectangle. Use the dimension tool to set its size—say, 50mm long by 20mm wide.
* Extrude the Sketch: Now, we’ll turn that 2D sketch into a 3D object. Use the Extrude tool to give your rectangle some depth. A good thickness for a key fob is around 5mm.
* Add the Key Ring Hole: This is just another sketch! Go back to the top face of your new 3D block, create a new sketch, and draw a small circle (around 4mm diameter) near one end. Use the Extrude tool again, but this time, choose the “Cut” operation. This will punch a hole through your key fob.
* Personalize with Text: This is the fun part! On the top face, create another sketch. Find the “Text” tool and type your name or a favorite word. Use the Extrude tool on this text, but only extrude it a small amount—like 0.8mm—to give it a raised, embossed look.
💡 Pro Tip: Always save your work often! It’s also a good practice to use “parameters” in Fusion 360 to define your dimensions. This way, if you want to change the size of your key fob later, you just change one number and the whole design updates automatically. Magic!
From CAD to Reality: Exporting Your Model
Once your masterpiece is complete, you need to export it in a format your 3D printer can understand. The most common file type is an STL (.stl). In Fusion 360, you can right-click the body in your browser tree and select “Save as Mesh.” Make sure the format is set to STL, and you’re good to go!
Now, you just need to slice the STL file with your slicer software (like PrusaSlicer or Cura) and send it to your printer. Congratulations—you’ve just gone from a blank screen to a digital object ready for the real world!
Designing in CAD might seem complex, but every great project starts with a single step. The key is to just start playing around and get comfortable with the tools. The more you experiment, the more your ideas will come to life. Happy modeling! ✨